Move SIM
Use the Move SIM action to transfer one or more SIMs from your account to a sub-account. The move actions are described in this table.
| Move SIM(s) | Description |
|---|---|
| Single SIM in the SIMs Table | Select a single SIM in the SIMs table and move to a sub-account. |
| Multiple SIMs in the SIMs Table | Select multiple SIMs in the SIMs table and move to a sub-account |
| Single SIM from the SIM Info page | the SIM info page and move to sub-account. |
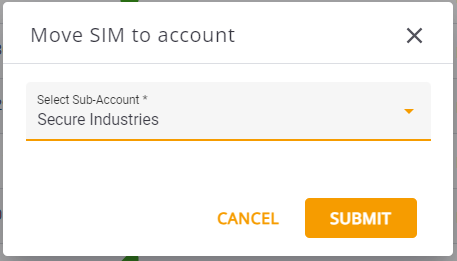
A screen capture of the Move SIM to Account dialog box is shown here.
NOTE: The Move action is applicable only for SIMs in the same account.
Move Single SIM to Sub -account
To move a SIM to a sub-account, do these steps:
- Select SIMs from the sidebar menu. The SIMs table is displayed.
- Select a SIM row and click the Actions icon.
- Select Move to display the Move SIM to Account dialog box.
- Click the Select Sub-account list box.
- Select a target sub-account and click Submit. The SIM is moved to the select sub-account.
TIP: Alternativly you can move a single SIM directly from the SIM Info page. Click a SIM to display the SIM Info page and select Move from the Actions icon located at the top of the page.
Move Multiple SIMs to Sub -account
To move multiple SIMs to a sub-account, do these steps:
- Select SIMs from the sidebar menu. The SIMs table is displayed.
- Check multiple SIM rows to select the relevant SIMS displayed in the table.
- Click the Move button located in the table header. The Move SIM to Account dialog box is dislpayed.
- Click the Select Sub-account list box.
- Select a target sub-account and click Submit. The selected SIMs are moved to the select sub-account.